
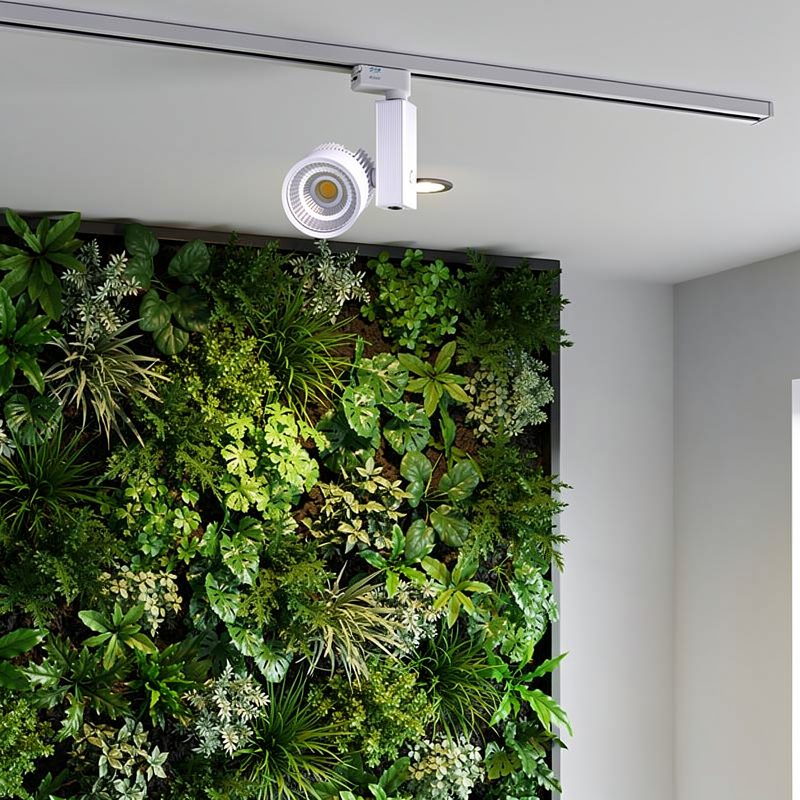
How to install lighting for an indoor green wall: complete guide
To create a successful indoor green wall , lighting plays a key role: it supports plant growth while showcasing natural beauty. Our simple solution is this complete pack with two 45W spotlights on a 100 cm track. Its light spectrum is close to daylight and it connects to a standard 230V socket, making it an ideal option. We explain how to choose a spotlight for a green wall, set the output and schedule the lighting duration for a balanced plant display .
How to choose the right lighting for your green wall
Lighting an indoor green wall requires horticultural LED lights that offer a full spectrum, suitable output and excellent colour rendering. Choose a plant light spectrum covering 400–700 nm with a CRI ≥ 90. This closely reproduces natural light and supports healthy growth while enhancing your plant display. Colour temperature and energy efficiency are also important for a green wall that is attractive and economical.
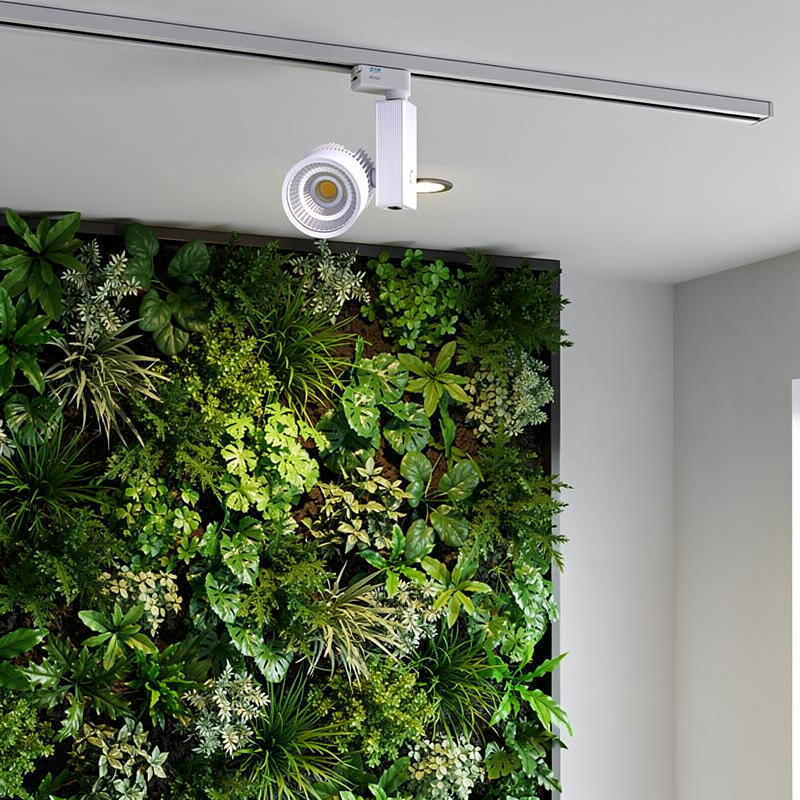
Light spectrum matched to plant needs
A good light spectrum for green walls contains around 40% red (630–680 nm), 30% blue (450–495 nm), plus white and a small amount of infrared. This mix supports every growth stage , from rooting to flowering, and suits most species. Adjust the proportions to your plants' specific needs for a well-balanced wall of light .
- Red-dominant spectrum : encourages upward growth and strengthens plant structure.
- Blue-enriched spectrum : thickens foliage and intensifies colour.
- Balanced full spectrum : a versatile option for an attractive result.
Adjust the spectrum to the species: use more blue for colourful blooms and more red for fast-growing plants. This tailored approach supports photosynthesis and keeps your green wall looking vibrant.
Output and efficiency of horticultural LEDs
Required output is measured in watts per square metre: allow 15–20 W/m² for a lightly planted green wall and 30–40 W/m² for a dense planting . A 45W spotlight can effectively light 1 m² from 30–45 cm away, providing even coverage without scorching. Choose modules rated above 2.5 µmol·J⁻¹ for energy efficiency and vigorous growth.
Adjustable 360° spotlights eliminate shadows and evenly illuminate the whole indoor plant display. Their low heat output protects plant health and the life of the light fittings, while maintaining the right light intensity.
Colour temperature and appearance
A 4000K colour temperature closely imitates daylight, while 3000K creates a warmer atmosphere. Avoid very high colour temperatures (above 6500K), which can produce a cold light that may be unsuitable for some plants. Maintain a CRI ≥ 90 to show the textures and colours of your indoor green wall at their best.
Finally, choose dimmable lights so you can adjust intensity with the seasons and highlight the volumes of your vegetated interior . Precise scheduling of the lighting duration provides a stable light cycle for a green wall that stays properly lit.
Practical installation of the LED lighting system
A methodical approach is essential for successfully lighting an indoor green wall. Installing an LED track provides even illumination and lets you adapt the lighting as plants grow. This modular system allows you to add spotlights gradually as your display develops. Explore the modular lighting solution for your green walls, with smartphone control to adjust intensity and schedule light cycles.
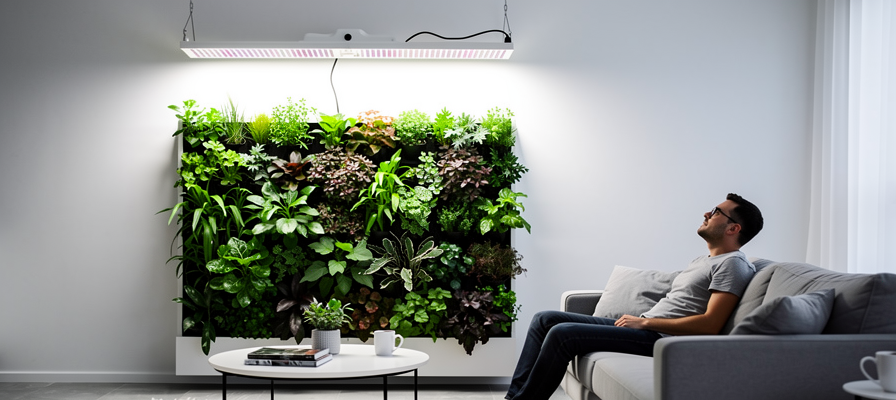
Track mounting and simple electrical connection
The first step in lighting a green wall is to securely install the main track. For a hydroponic wall or modular system, choose a support rated to carry at least 10 kg/m. Each spotlight weighs only 300 g, keeping the setup light yet stable. A laser level is essential for aligning the track precisely and ensuring an evenly illuminated wall.
- Preparing the mounts: Mark positions every 30 to 50 cm, depending on the density of the plant display.
- Installing wall plugs: Choose 8 mm plugs for plasterboard or 6 mm plugs for concrete to secure the wall mounting.
- Electrical connection: A single 230V cable powers all the lights, greatly simplifying installation.
Once the wall track is secure, simply clip on the horticultural LED spotlights. Their 360° rotation eliminates shadows for an evenly lit green wall. Check that all parts of the planted wall receive enough light, especially the densest areas.
Optimum spotlight positioning and orientation
For suitable brightness without stressing plants, position the spotlights 30–50 cm from the foliage (100–130 cm for an intensity of 2,500 lux). This distance protects the leaves while supporting healthy growth. The recommended beam angle is 30°–45° upwards to reproduce natural sunlight.
- Smart spacing: Allow one spotlight every 30 cm for dense walls or every 50 cm for more open displays.
- Precise adjustment: Use a 15°–30° beam angle to cover the full height without creating hotspots.
- Maximum flexibility: Make full use of the spotlights' rotation to illuminate every plant.
For a 2 m² area, two 45W spotlights are generally sufficient, while a 6 m² green wall needs around six. This lighting setup provides 30W/m², ideal for most houseplants. Always maintain 10–15 cm between the diffusers and the plants for good ventilation.
Scheduling light cycles for your plants
Lighting duration is crucial to the health of a green wall. Depending on the plant species, schedule 12 to 16 hours of light each day. Coordinating the light cycle with watering helps roots absorb water and nutrients.
| Green-wall type | Green-wall lighting duration | Recommended spectrum | Required output |
| Dense tropical wall | 14–16 h | Full spectrum | 30–40 W/m² |
| Succulent display | 12–14 h | Blue-enriched spectrum | 25–30 W/m² |
| Fern wall | 12 h | 40% red, 30% blue | 15–20 W/m² |
For truly natural-looking green-wall lighting, gradually dim the lights over the final two hours to recreate a gentle sunset. This protects the plants while beautifully highlighting your luminous green wall and turning your interior into a true green oasis.
Optimising and maintaining green-wall lighting
To ensure optimum photosynthesis and preserve the beauty of your planting, regularly check the light intensity provided by your horticultural LED lights. Adjust their settings as the plants grow. Clean the diffusers, check the temperature and adjust output or lighting duration to prevent insufficient light and maintain an appropriate spectrum.
Make it easy to install the perfect lighting for your indoor green wall : our Plug & Play solutions simplify green-wall installation, provide a spectrum close to natural light and keep energy use low for long-lasting planted walls.
Identifying and correcting insufficient light
Insufficient light is visible through leggy growth, yellowing leaves and a lack of flowers. Take action promptly. Use a lux meter to measure illumination—aim for at least 2,500 lux—or a PPFD of 200–400 µmol·m⁻²·s⁻¹ for a dense, well-lit plant display.
- Add more spotlights : up to 20 modules can be installed on the same track to increase output without changing the existing installation.
- Move the light source closer : lowering the track by 10–15 cm increases the light intensity reaching your green wall.
- Adjust the spotlight angle : 360° adjustment eliminates shadows across your planted wall.
- Extend the lighting duration : temporarily increase the daily schedule from 12 to 16 hours to compensate for low intensity.
Carefully record each light reading and keep a log of operating hours. This will help you anticipate changing plant needs and optimise the energy consumption of your green-wall lighting.
Regular maintenance for lasting performance
Horticultural LED maintenance is essential: cleaning the diffusers every three months can improve light intensity by up to 15%. Ensure LED temperatures stay below 45°C. If necessary, add heat sinks or improve ventilation to protect the lights and preserve spectrum quality.
Check the IP65 seals twice a year, remove any condensation and replace modules after 50,000 hours of use. These simple measures will extend the life of your installation, support balanced growth and preserve the decorative appearance of your indoor green walls.
Frequently asked questions
What are the drawbacks of a poorly lit indoor green wall?
A poorly lit indoor green wall can have several problems: plants become leggy, leaves turn yellow and lose colour. Photosynthesis slows, affecting their growth and making the wall more susceptible to disease. Conversely, if the bulbs are too powerful or placed too close (less than 30 cm), they may scorch the foliage. For a successful installation, choose 15–40 W/m² and keep the lights 30–45 cm from the plants.
How can I effectively light a green wall in a hydroponic system?
To create a green wall in hydroponics , use horticultural LEDs with a complete spectrum (400–700 nm), including around 40% red and 30% blue. These settings support root and leaf growth . Install 60–120W light bars (IP65-rated) 30–50 cm from the plants, and schedule 14–16 hours of light a day. Tip: synchronise watering with lights turning off to limit evaporation and stabilise nutrients. This approach helps create a lush, long-lasting wall.
Which support should I choose for mounting lights on a green wall?
To install a green wall, a one-metre aluminium track (rated to support up to 10 kg) is ideal. Secure it to the wall or ceiling with suitable screws and plugs. This modular system can hold up to 20 lightweight spotlights (0.3 kg each) and lets you reposition the lights easily without changing the wiring. Here are the key steps : mark positions every 30–50 cm, drill, mount the track level, then make the electrical connection (230 V AC). This setup offers flexibility and stability for building an effective green wall .
Before installing your lights, read our guide to lighting a green wall and its layout diagram.
Related posts
 Discreet Green Wall Lighting: LED Design Guide
 Recessed Directional Grow Spot: A Guide for Plants and Green Walls
 Recessed LED Grow Bars for Green Walls: 2026 Comparison Guide